
Many drivers find themselves baffled when the Check Engine Light stays on or illuminates right after installing brand-new spark plugs. In reality, troubleshooting this issue simply requires a clear diagnostic roadmap.
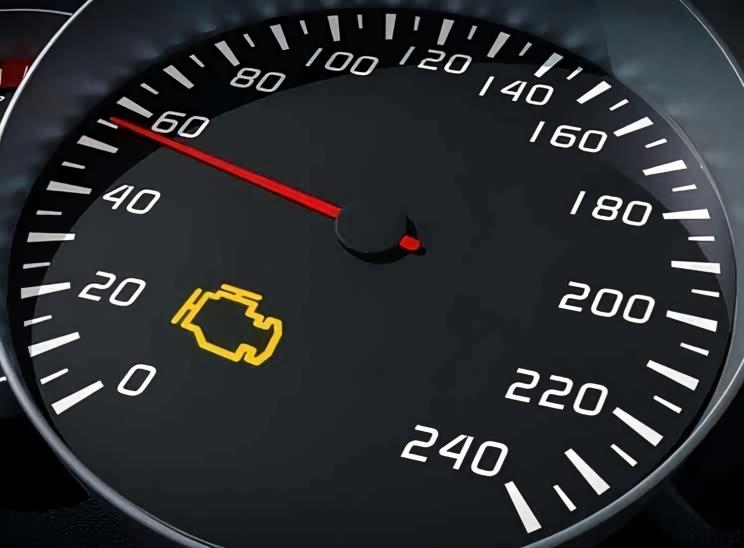
Below arethe most common culprits behind post-replacement warning lights:
1.Improper Installation
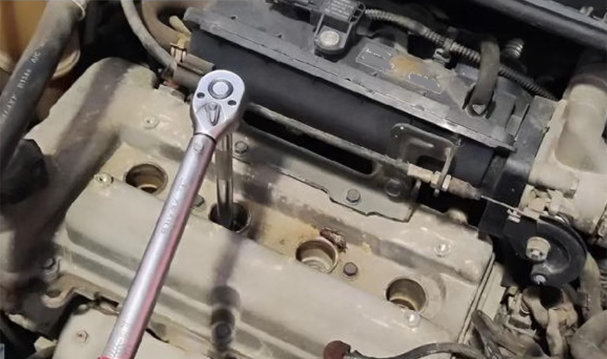
Installing spark plugs might seem straightforward, but it requires strictly adhering to factory torque specifications. Never install spark plugs "by feel"—over-tightening can crack the ceramic insulator or stretch the threads, while under-tightening causes compression blow-by leaks and poor heat dissipation.
Additionally, failing to fully seat ignition coil connectors or spark plug boots, or leaving oil, dirt, or debris in the spark plug wells, causes poor electrical contact. This leads to ignition misfires, which immediately triggers the Check Engine Light.
Pro Tip:
Always use a calibrated torque wrench, thoroughly clean the spark plug wells before removal, and ensure ignition coil wiring harness clips click securely into place. Every detail matters.
2.Incorrect Spark Plug Specifications (Wrong Part Number)
A spark plug’s heat range, electrode gap, and thread reach must strictly match the engine's original engineering specifications. Using the wrong plug leads to serious operating issues:
- Incorrect Heat Range: A plug that runs too cold fouls easily with carbon; a plug that runs too hot can trigger pre-ignition or engine knock, disrupting normal combustion.
- Incorrect Electrode Gap: A gap that is too wide causes misfires under heavy load; a gap that is too narrow creates a weak spark kernel and incomplete combustion.
- Incorrect Thread Reach (Length): A plug that is too long risks physical collision with the piston crown; a plug that is too short positions the spark kernel too far from the optimal combustion zone.
When any parameter deviates from OEM specifications, the Engine Control Unit (ECU) flags the combustion abnormality and triggers the Check Engine Light.
Pro Tip:
Before buying or installing, always cross-reference your vehicle’s factory service manual or the spark plug manufacturer’s official application catalog to ensure an exact match.
3.Pre-Existing Underlying System Faults
Sometimes, the illuminated Check Engine Light has no direct causal relationship with the new spark plugs. Instead, it stems from:
- Failing Oxygen Sensors: An aged or contaminated O_2 sensor can falsely report air-fuel ratio imbalances.
- Degraded Ignition Coils: Aging coil boots or internal insulation breakdown can cause intermittent single- or multi-cylinder misfires.
- Fuel Delivery Issues: Clogged fuel injectors or inconsistent fuel pressure cause poor fuel atomization and incomplete combustion.
The process of replacing spark plugs may simply disturb or bring these pre-existing hidden issues to light. Drivers often blame the "new spark plugs," when the true root cause lies elsewhere in the system.
Pro Tip:
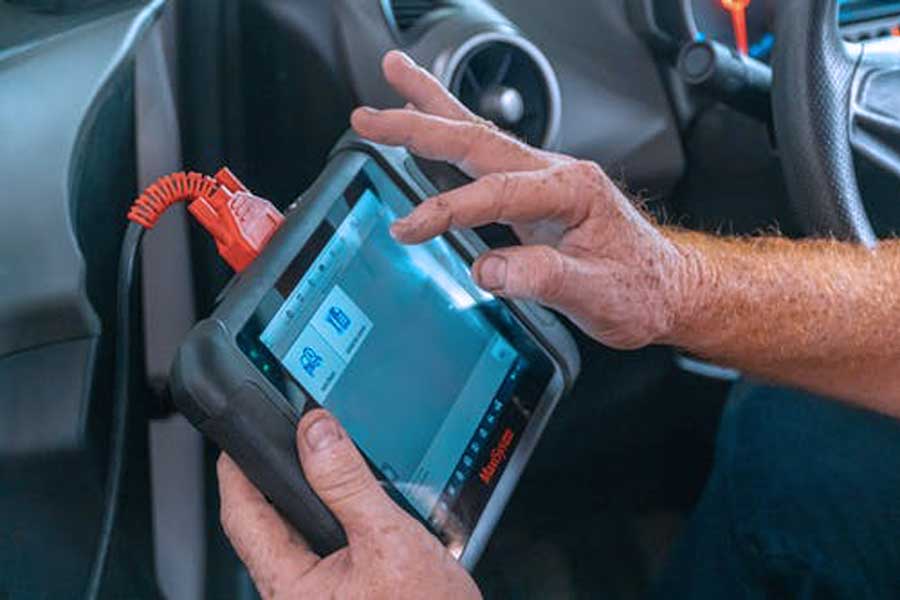
When the warning light comes on, connect an OBD-II scan tool to read Diagnostic Trouble Codes (DTCs) and monitor live data streams rather than blindly replacing spark plugs again.
4.The 3-Step Trouble-Free Process
- Pre-Installation Scan: Scan for stored DTCs and review engine live data prior to disassembly to identify pre-existing system faults.
- Standardized Installation: Double-check part numbers, blow out spark plug wells, use a torque wrench to spec, and verify all electrical connectors click locked.
- Post-Installation Verification: Start the engine, perform a road test, and clear any historical codes using a scanner to confirm the powertrain system is operating normally.
Only by combining exact fitment, standardized installation, and systematic diagnostics can you truly resolve the problem. Regular inspections and proper installation practices remain the best protection for your engine.
Post time:Sep-25-2020
